


Picture this: You’re driving through a neighborhood admiring beautifully manicured lawns and blooming daffodils when suddenly your scenic drive is jarred by an overgrown, unkempt front yard. You immediately cringe in disgust, but your revulsion is not just at the sight of the yard. You’re most appalled because this eyesore is yours!
So what’s a busy homeowner to do? Simple: Just keep the herbs, flowers, and grass neatly edged. Especially monitor native sages, manzanita, lavender, junipers, and other low-growing shrubs. Keep them cut back to maintain a defined border, walk, or driveway. Clipping back unwanted growth improves any plant’s appearance, and removing diseased, pest-ridden, or damaged branches ensures that the plant will receive adequate sunlight for healthy growth. Be sure to fertilize immediately after pruning to encourage fresh new growth. It’s amazing how dramatically this easy bit of maintenance will improve a yard’s appearance.
If you think your yard is due a bit of an uplifting makeover, here are four easy steps to get yourself moving along the right path to design success.
Design Tip #1 – Start with a Plan – Bring order back into the yard with an updated 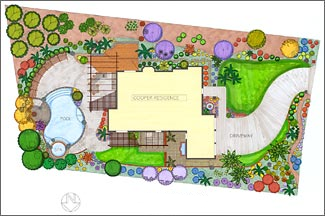 landscape plan. Lisa and I are in the midst of a major remodel to the front landscape of our house. She had an idea for a new patio area, but we just could not get all the components organized. We got the help of a local landscape-designing friend who put our ideas into a 3D program that allowed us to “see” our ideas. The new technology even allowed for a walking tour of the new garden before we even began the project! We can remodel in phases as our time and budget allow while still keeping the integrity of the plan intact. Getting the balance right between the seasons of bloom is especially important to have something interesting always happening in the garden. These are good reasons for the right plan from the right designer.
Design Tip #2 – Clean Up – If you’re inspired to add new flowers and shrubs be sure to clean out and prep all areas designated for planting. Remove all dried leaves, sticks, pinecones, or any other dead growth. Next, pull out any weeds or unwanted grasses. Then add a two-inch layer of composted mulch. Top dress with an all-natural plant food and turn the soil to one shovel’s depth. Slightly moisten the prepared area and it’s ready to receive its new plants.
Design Tip #3 – Lay it Out First – If you’re creating or reviving an actual flowerbed, it’s helpful to place new plants in the area while they’re still in their containers. This allows an opportunity to place and reposition the “newbies” until the most desirable design is created. Dig each hole about twice as wide, but no deeper than, the plant’s root ball, making sure the soil is loose. Knock the plant out of the pot by turning it upside down and slightly tapping on the bottom of the container. If you notice the roots of the plant are thick, matted, or growing around the pot, loosen them carefully before planting. Finally, set the plant in the hole so its soil top is even with the bed’s surface, then fill in with soil.
Design Tip #4 – Dressing – There are several benefits to top-dressing plants with mulch: it controls weeds, keeps soil moist, regulates ground temperature, and it leaves an attractive finishing touch to your creation. There are several varieties of mulch available that allow for creative expression, so use the mulch that best suits your taste and your design. I really like the look and lasting qualities of a shredded cedar bark. An added benefit to cedar is that it keeps spiders and bugs out of the bed!
~~ ~~ ~~ ~~ ~~ ~~ ~~
Designer extraordinaire, Rich Olson, will be teaching next week’s hour-long gardening class at the nursery. I’ve encouraged him to bring samples of designs from his decades of experience to help stir imaginations before the planting season takes off this year. Rich has agreed to put together suggestions for a quick design for folks who bring a photo of a plot they’d like to remodel this spring! You might even see the new remodel that Lisa and I have going on in our yard.
~~ ~~ ~~ ~~ ~~ ~~ ~~

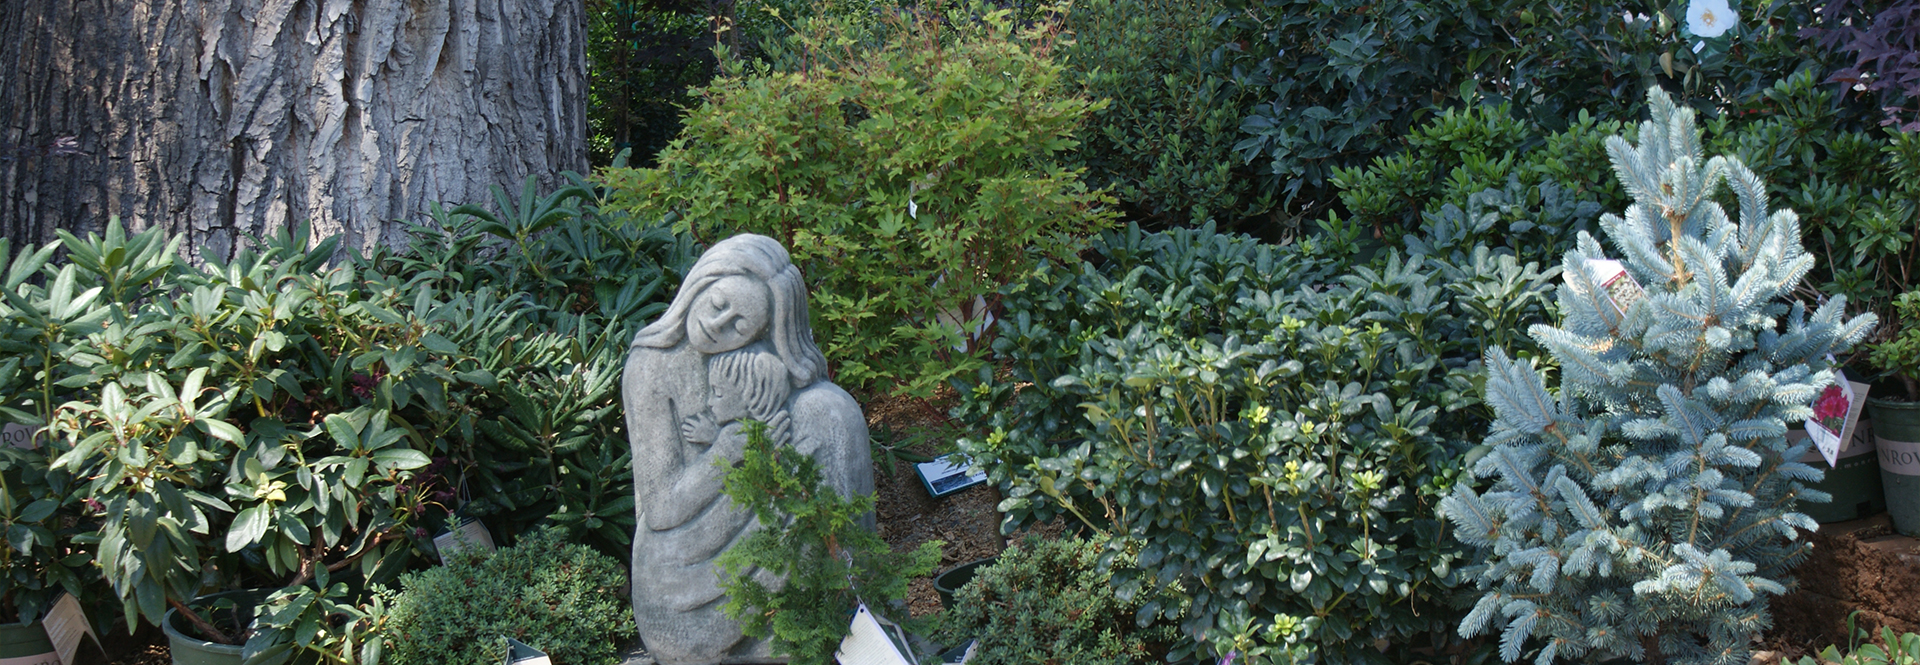
Plant of the Week is the Goshiki False Holly. ‘Goshiki’ translates from Japanese as “five colors”, and this plant’s new leaves emerge red and quickly turn a rich green daubed with spots of creamy white, light green, and yellows. This cute evergreen provides a whimsical landscape accent through the holidays. It’s like a traditional evergreen holly with 5 different colors all showing off at once. Far wider than it is tall, it’s good for sidewalk hedging or in a group to cover large bare areas of the garden.
Until next week, I’ll see you at the garden center.
Throughout the week Ken Lain is at Watters Garden Center, 1815 W. Iron Springs Rd, Prescott, and can be contacted through his web site, www.wattersgardencenter.com . Ken says: “my personal mission is to help local homeowners garden better in our mountain landscapes.”
Thanks for pointing out that if you’re inspired to add new flowers and shrubs be sure to clean out and prep all areas designated for planting. My husband and I are thinking about redesigning our landscape because the layout we have right now isn’t very exciting and is kind of sad. I think since it will be such a big job will all the cleaning and planting it would be smart to hire a landscape design company that could help us get to our goal of a fresher yard.
A landscape company might make sense for a job this big. Stop by the Garden Center for a list of company’s that we refer